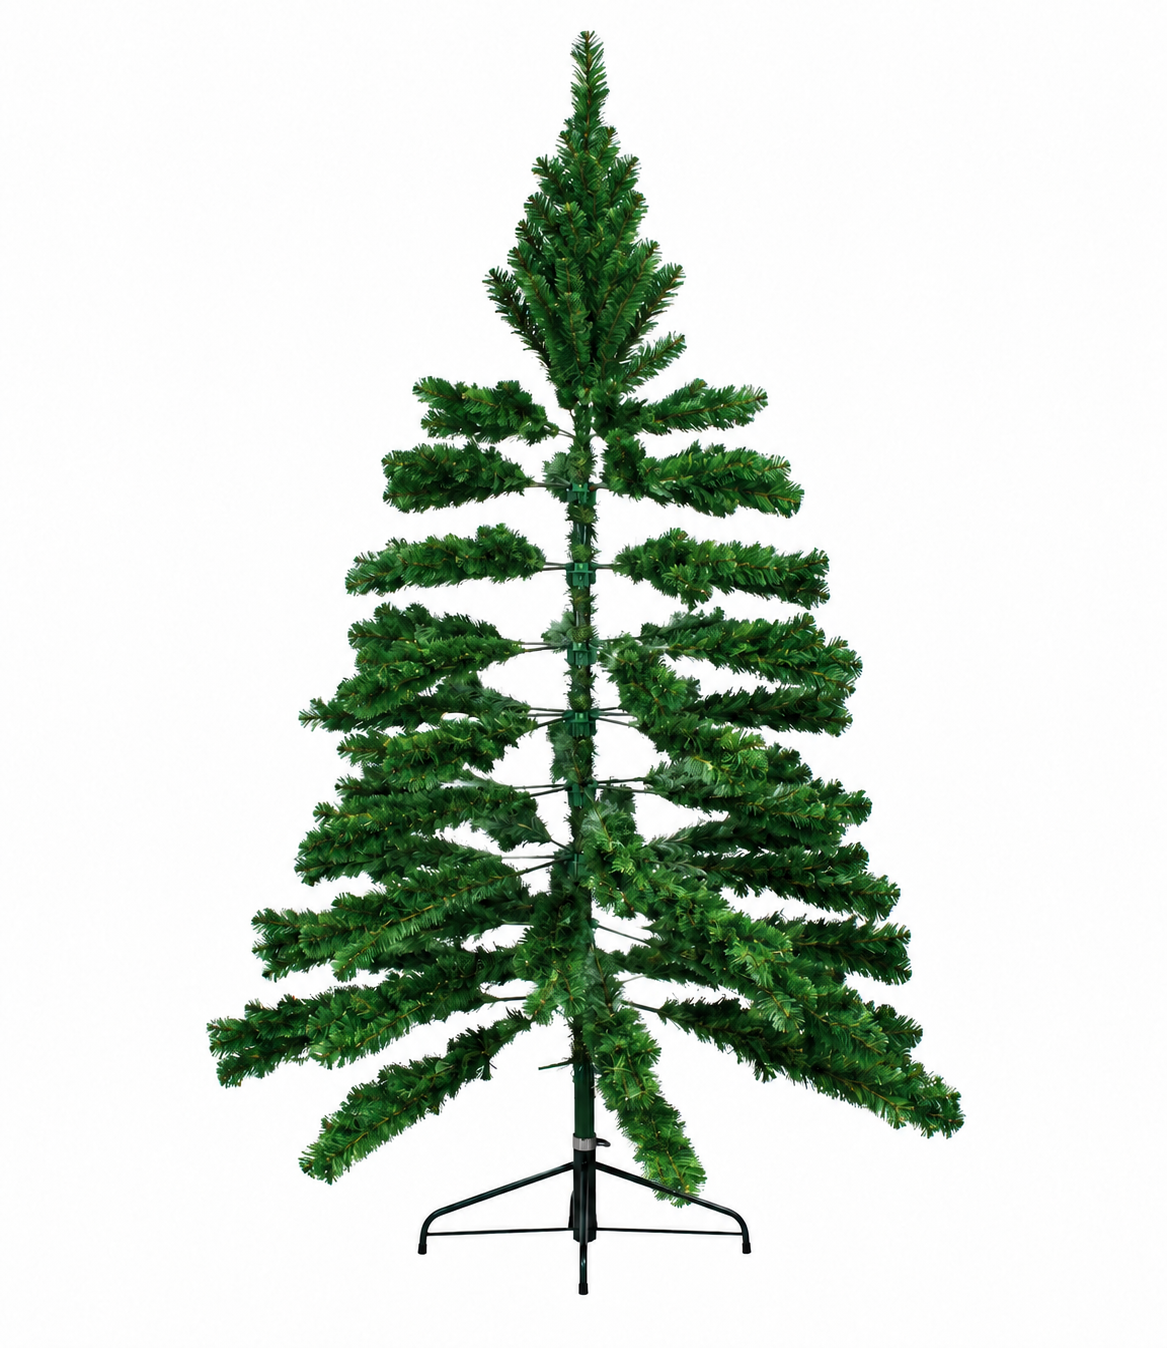
When you take your artificial Christmas tree out of the box, you'll notice the branches are folded tightly against the centre pole. Whether your tree is brand new or just pulled out of holiday storage, it definitely won’t look its best straight out of the box.
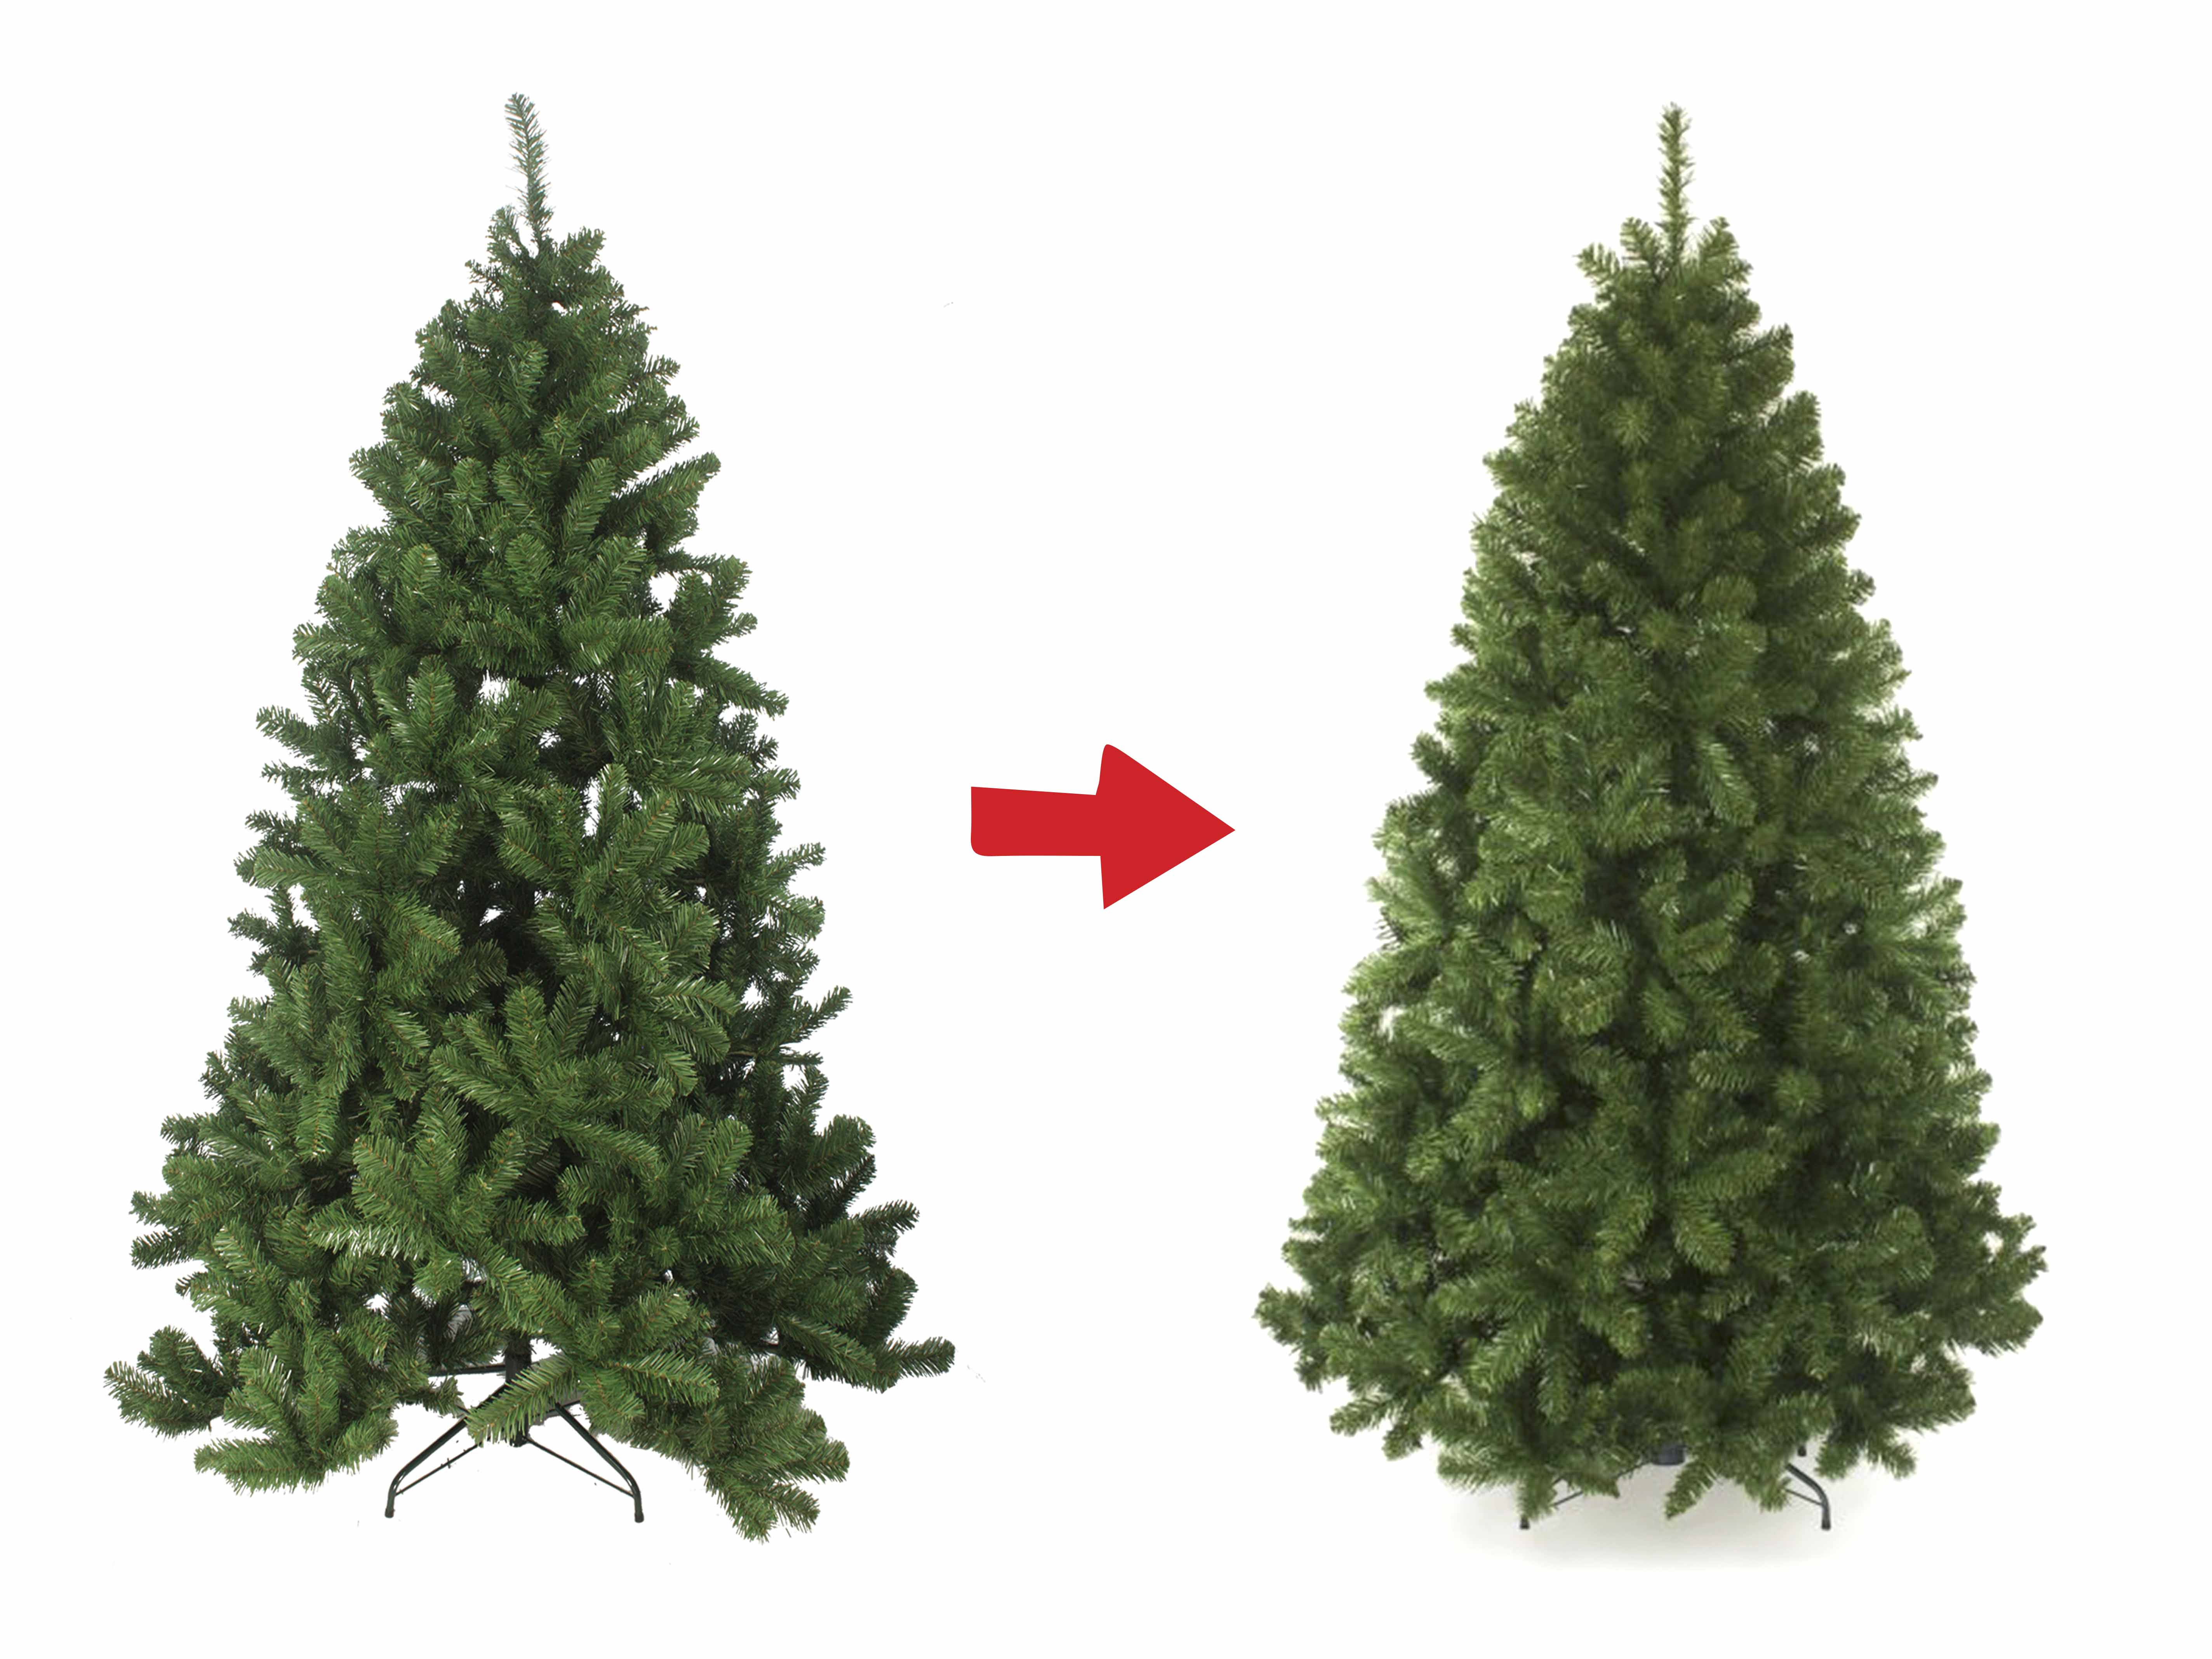
Fortunately, learning how to fluff a Christmas tree is simple and can make a dramatic difference to its appearance. Taking the time to shape each branch creates a fuller, more natural-looking tree and helps disguise the centre pole and internal frame.
Whether you've got a slim tree, a bushy tree or a pre-lit tree, this guide explains the best way to fluff your Christmas centrepiece so it's ready to become the main part of your festive display.
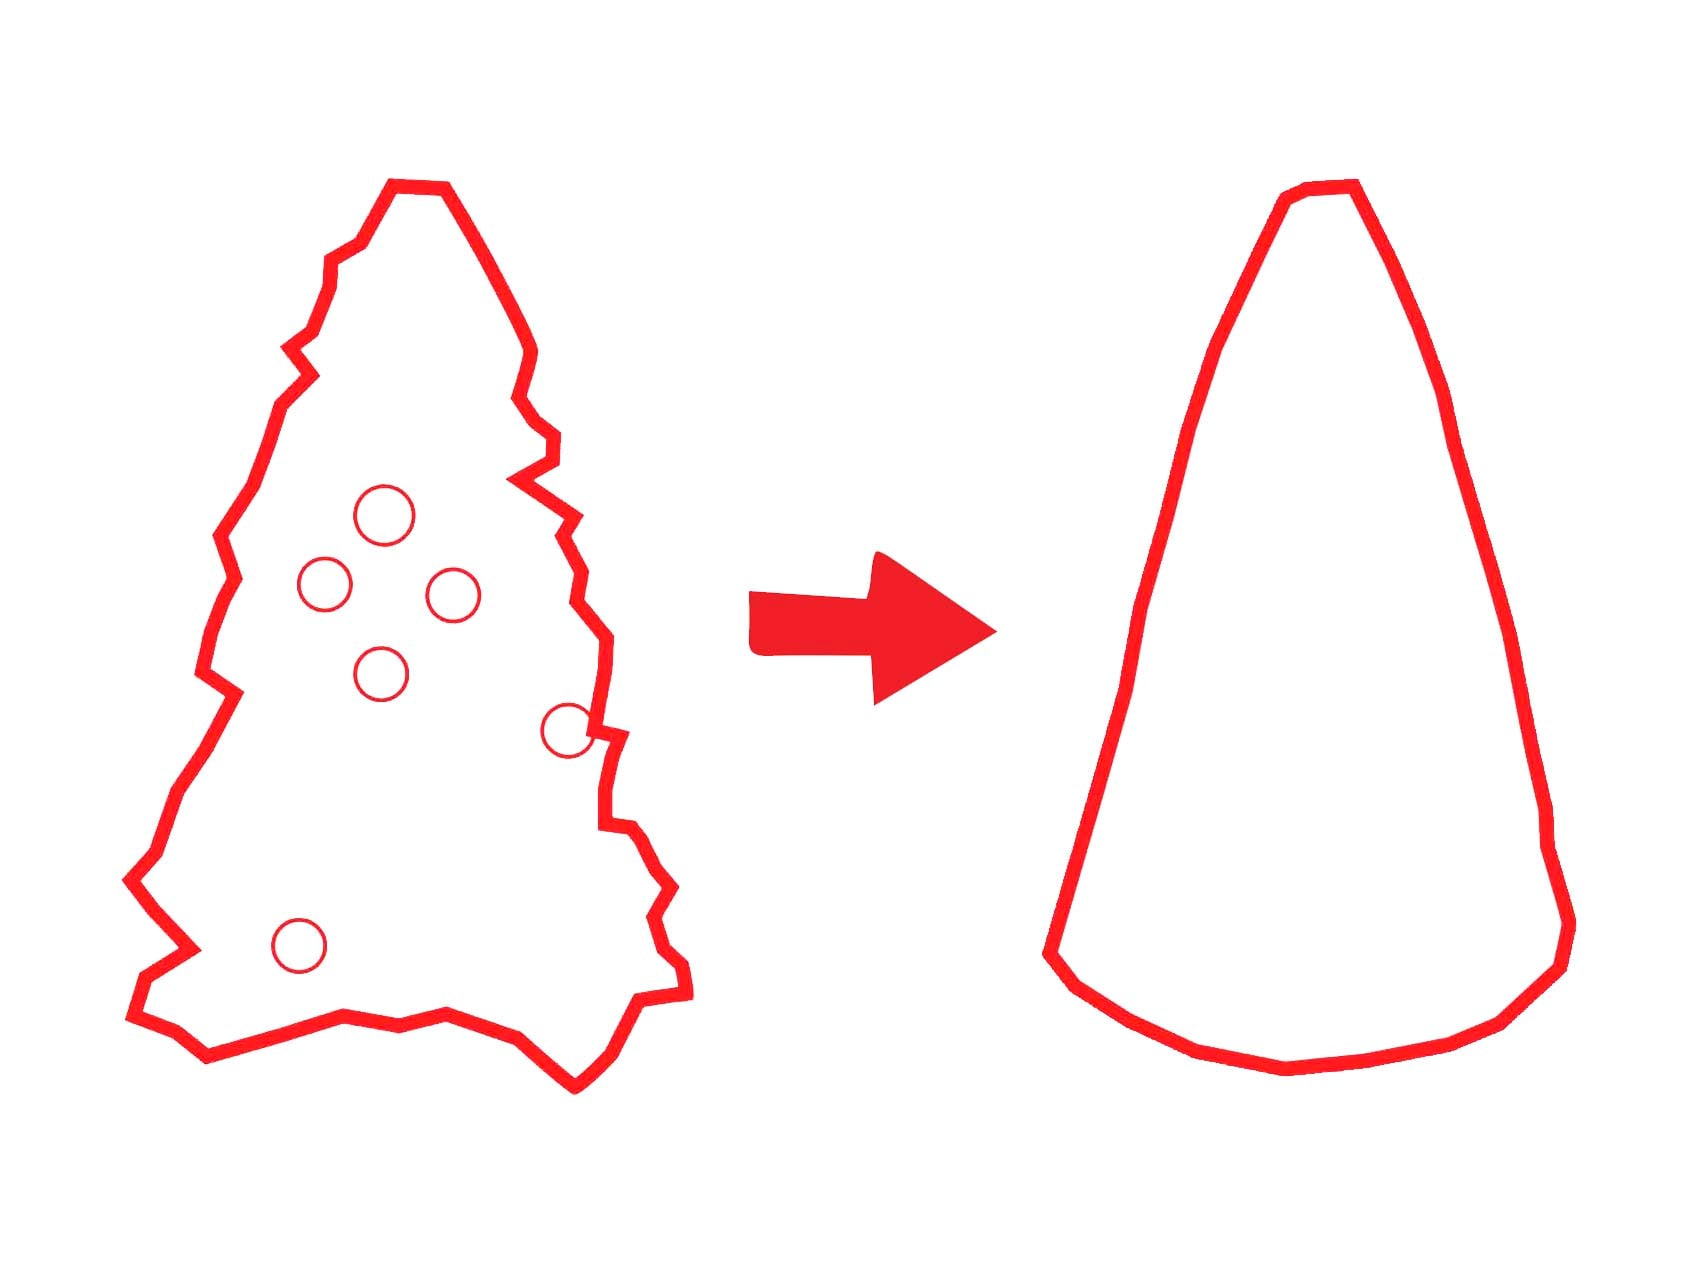
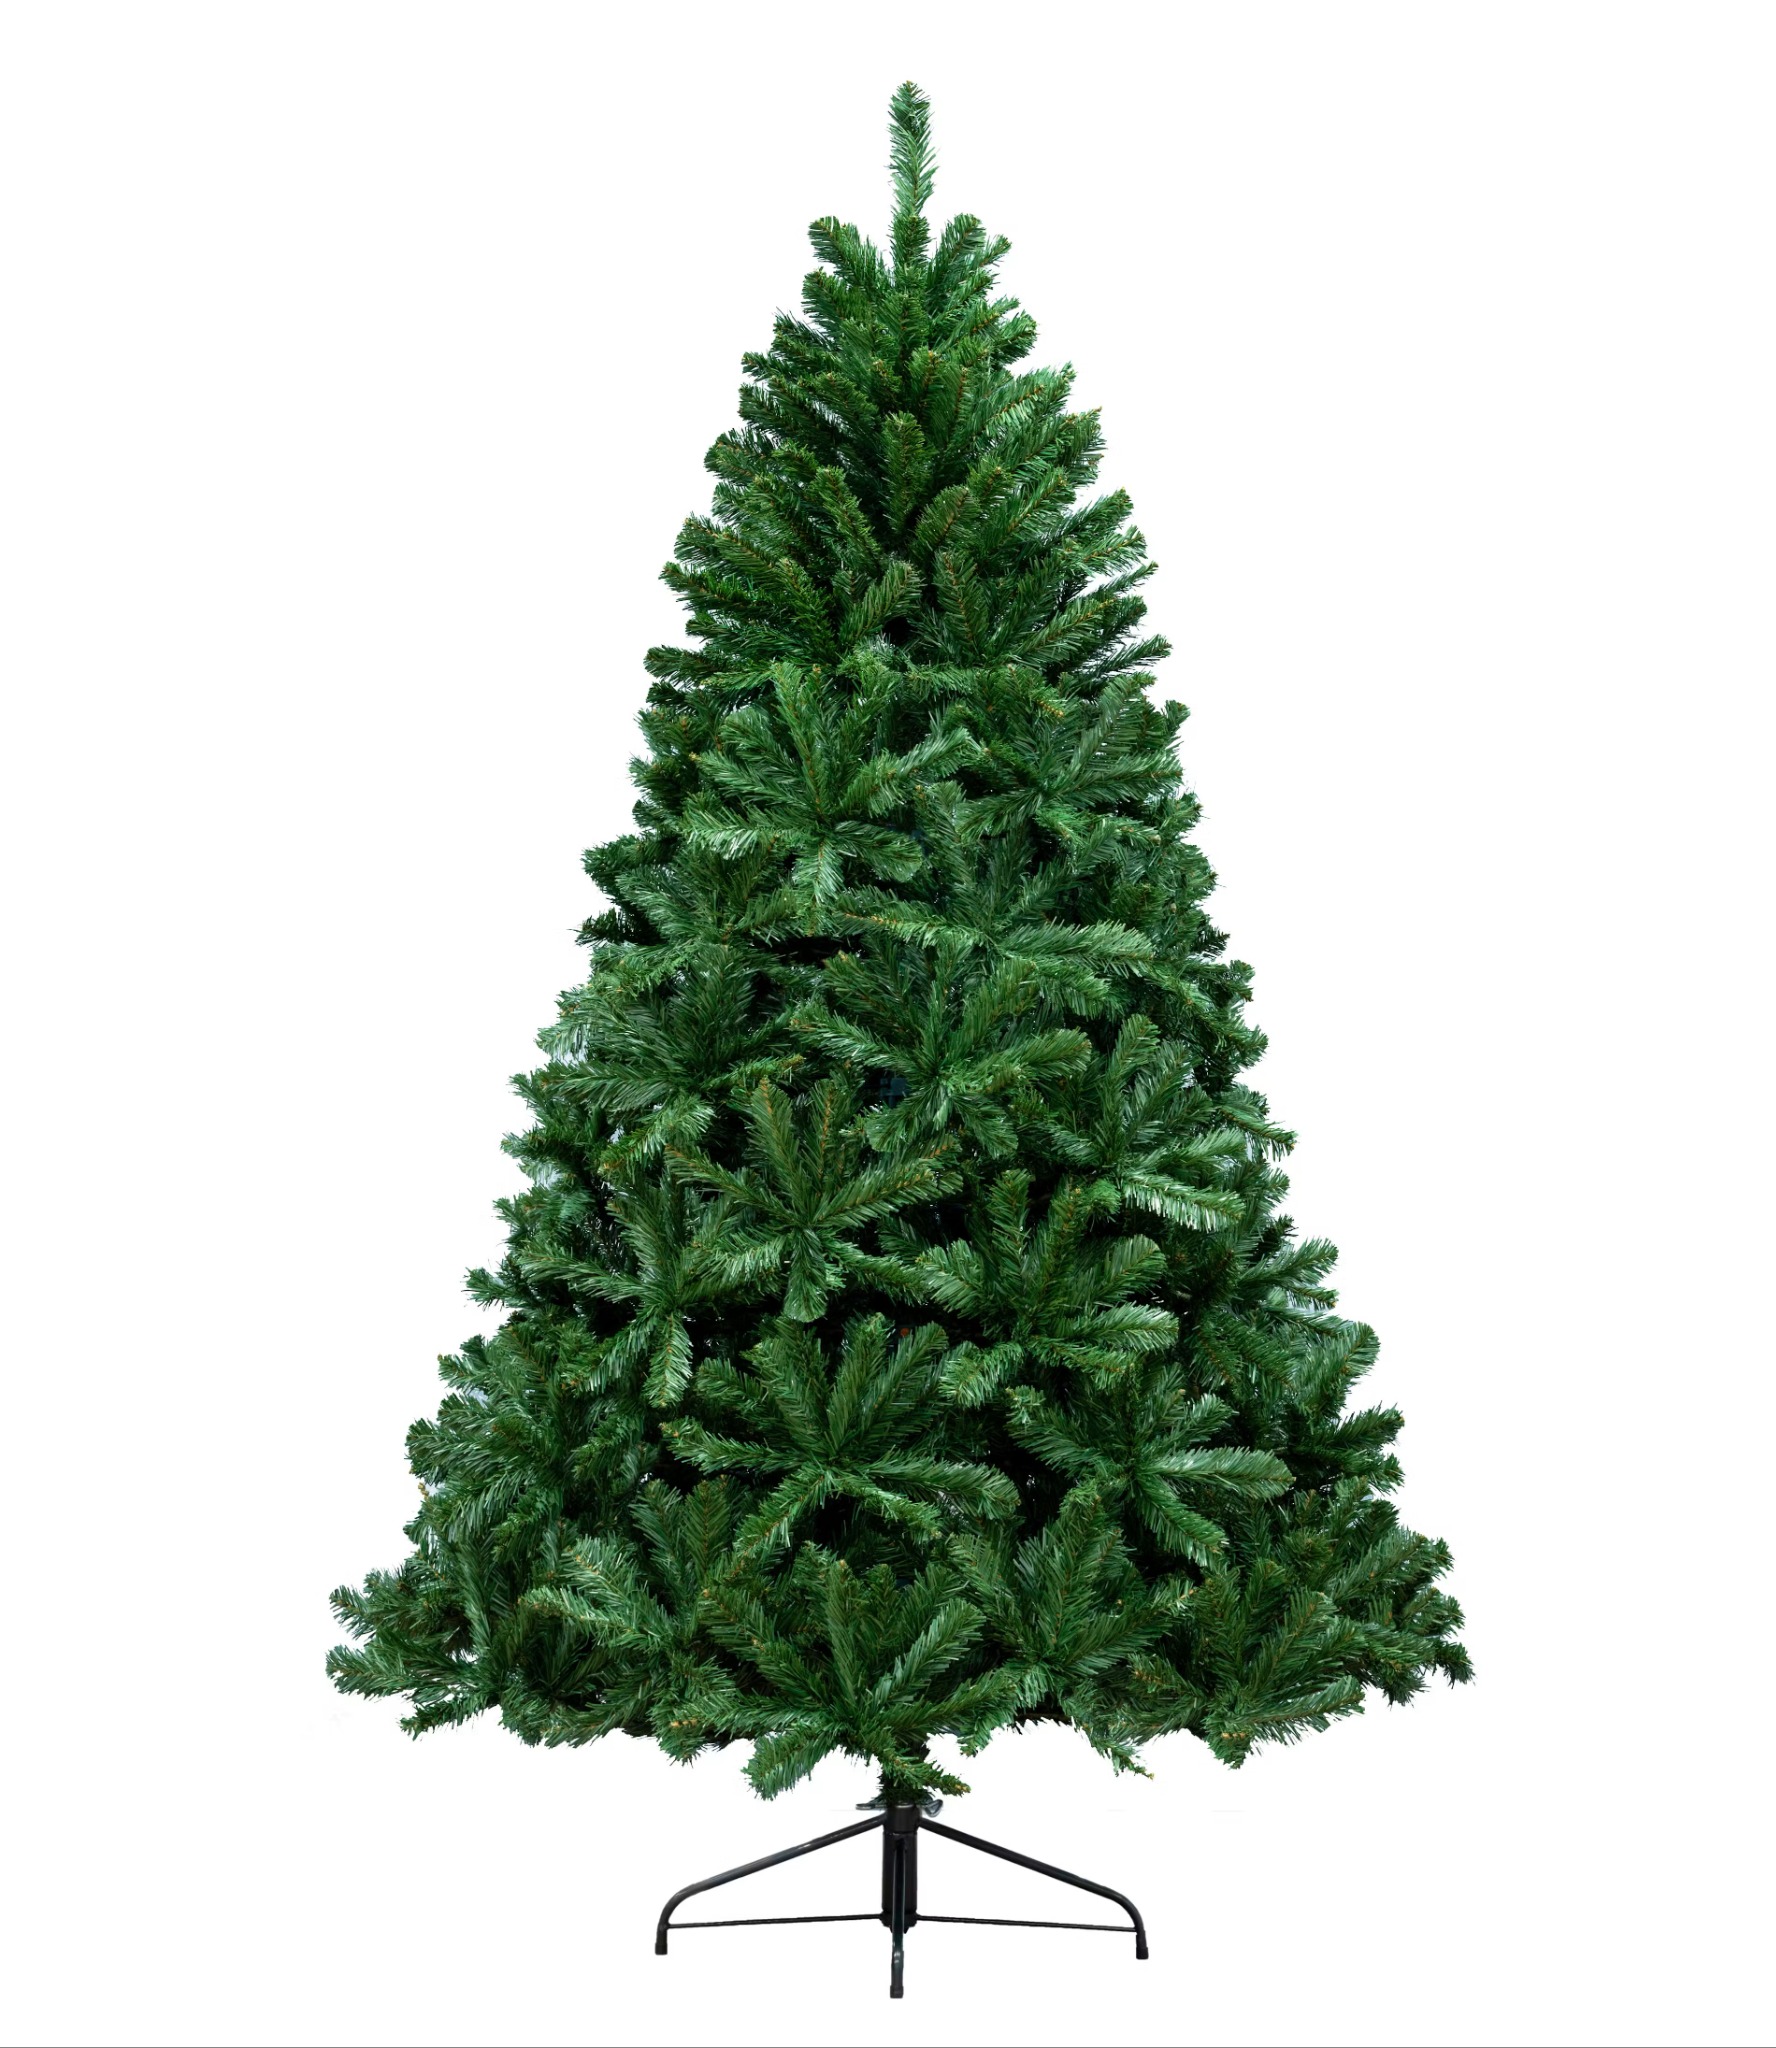
BeforeAfter
Why is branch fluffing important?
Fluffing is the process of separating and shaping your tree's branches after assembly. While it might seem like a small finishing touch, it's one of the most important steps in achieving a realistic-looking Christmas tree.
Proper branch shaping helps to:
Create a fuller, more natural appearance
Fill gaps between branches
Hide the centre pole and internal frame
Give decorations more support
Make the most of your tree's shape and foliage
Even premium artificial Christmas trees need fluffing after they've been packed away, so don't worry if your tree looks sparse when you first unpack it.
How long does it take to fluff an artificial Christmas tree?
The time needed depends on your tree's size, branch style and how much attention you give each section.
The first time you assemble your tree usually takes the longest. Once you've shaped the branches, you'll often find future setups are quicker, as many branches naturally return to the position you created previously.
If you're using a hinged or quick-assembly Christmas tree, setup is even faster because the main branches are already attached to the centre pole.
How to fluff Christmas tree branches in five simple steps
You don't need to be a treehugger to know how to fluff out your branches yourself. Just follow these easy steps below to give your tree a full and busy look the first time around:
If your tree has hook-on branches, attach each colour-coded section before you begin shaping. For hinged trees, simply let the branches fall naturally into place.
Although it’s easier said than done, a little patience at this stage makes the rest of the process much easier.
2 - Start with the inner branches, working from the bottom up
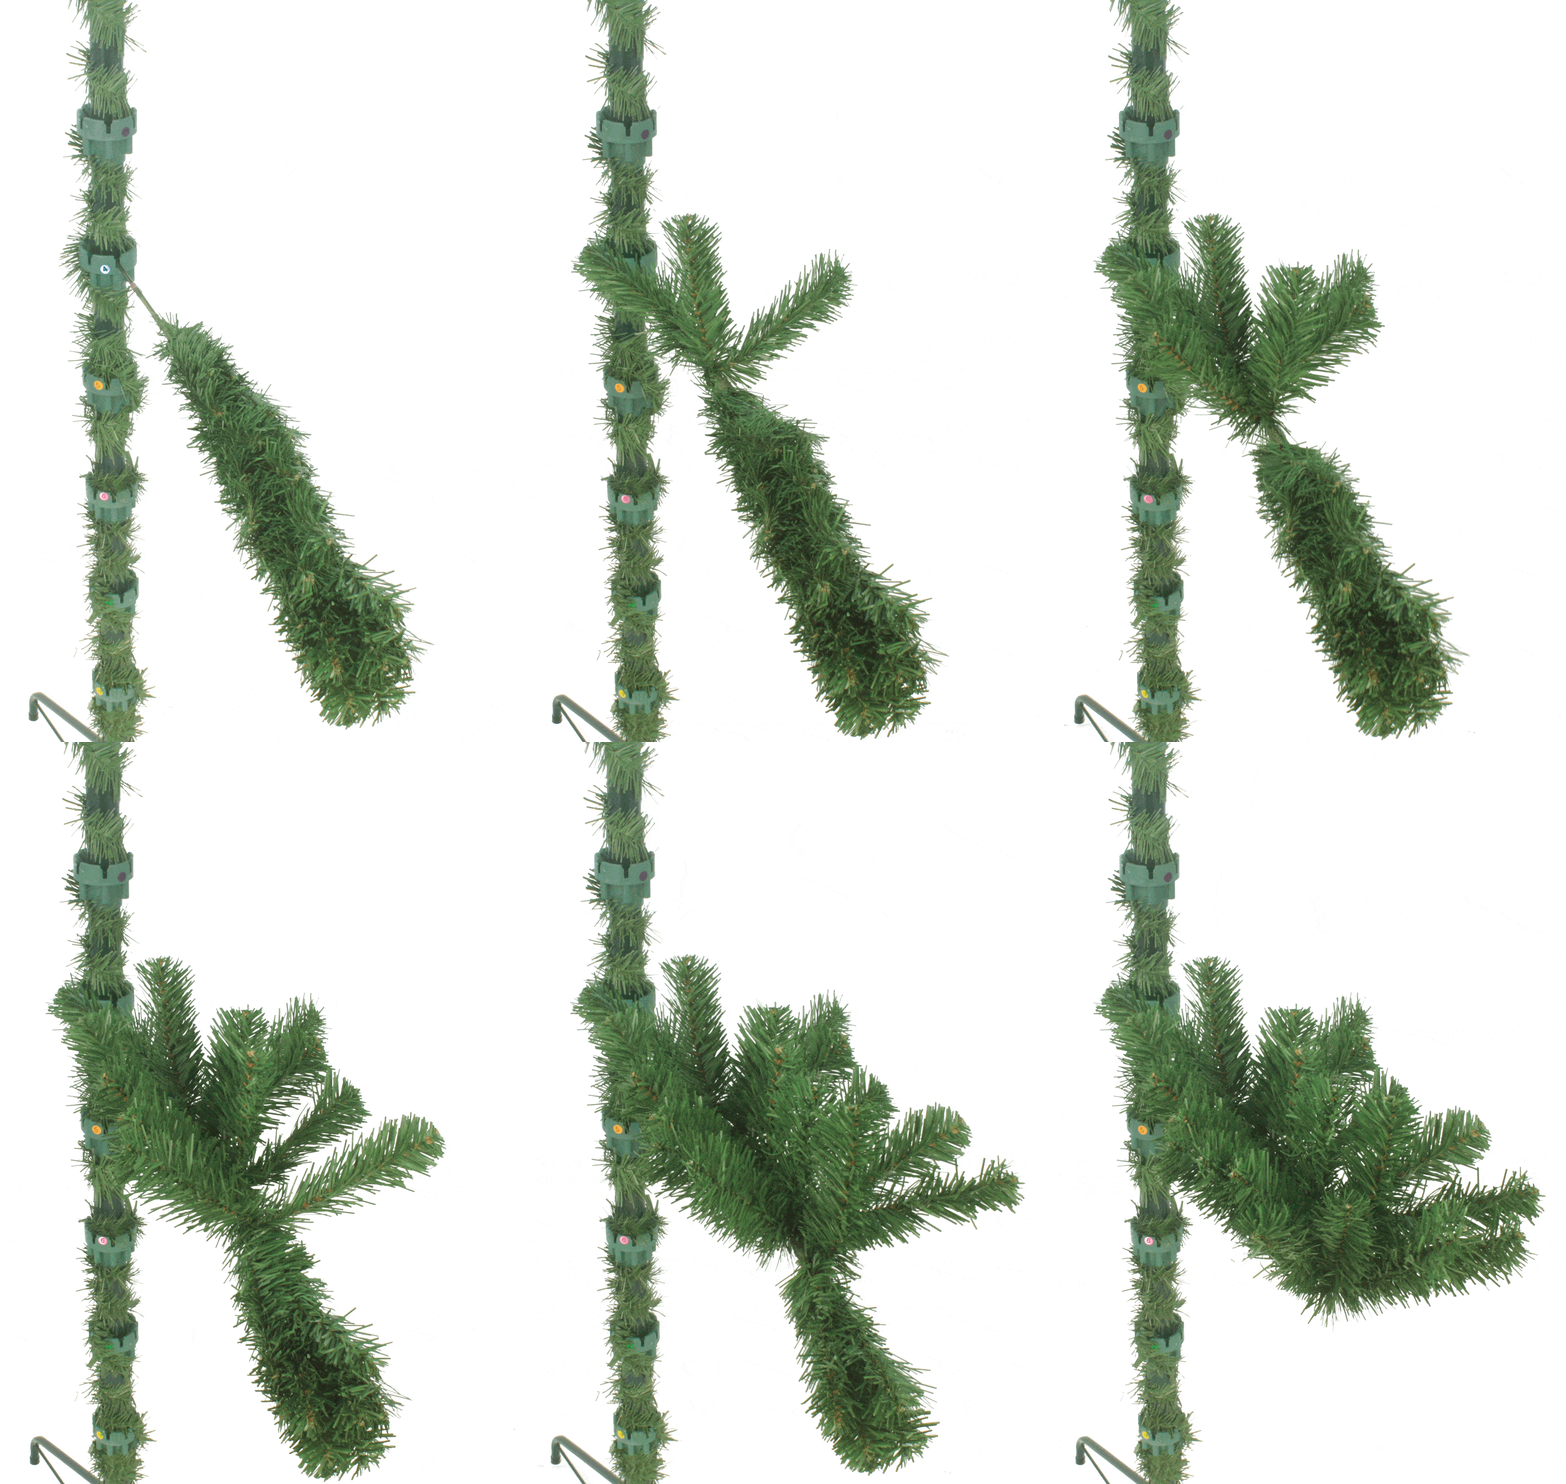
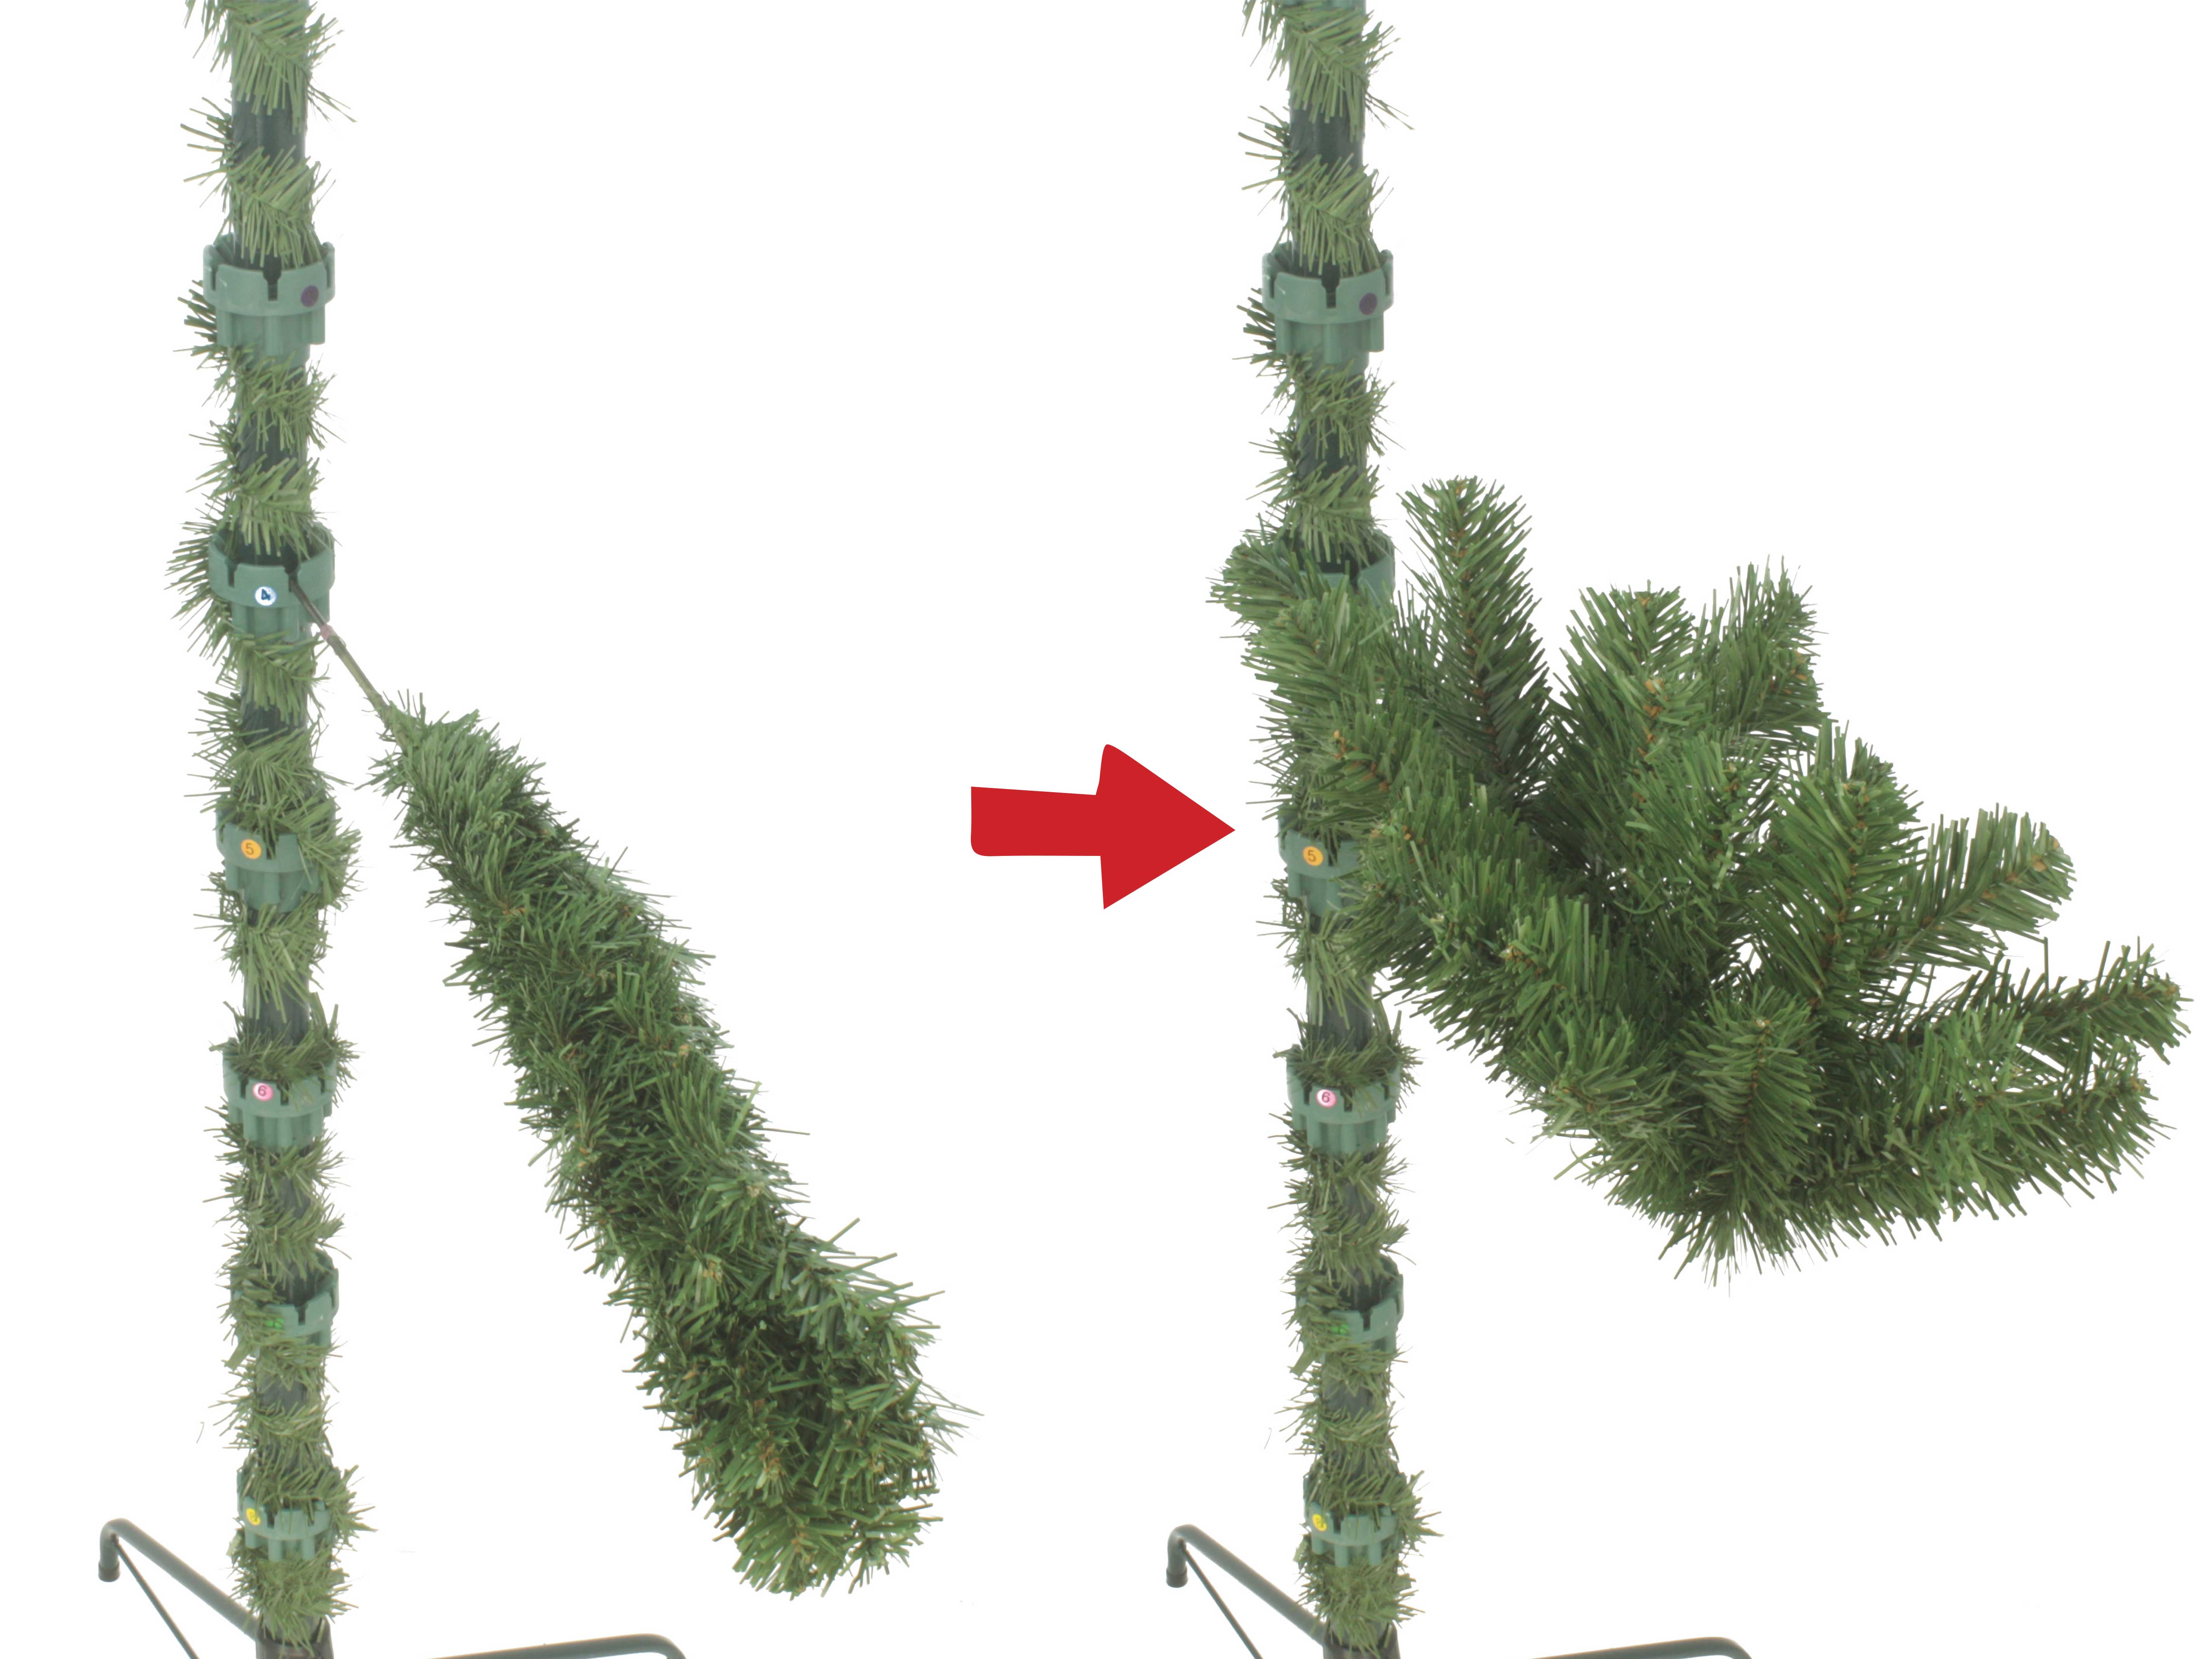
Begin with the lowest row of branches and work upwards, completing one layer before moving on to the next. For each layer, shape the branches closest to the centre pole first, gently lifting them upwards and outwards to add depth and help cover the trunk and framework.
Try not to position every branch in exactly the same way. Angling some slightly upwards, outwards or to the side will help create a fuller, more natural-looking shape while making it easier to spot and fill any gaps as you go.
3 - Spread each branch tip
Now move to the outer tips. Separate each tip individually or in small groups, fanning them out between roughly 45° and 90° rather than leaving them lying flat together.
Think of each branch opening like a fan or replicating a peacock's tail. This simple hack is the best way to fluff a Christmas tree and creates the realistic full foliage look that most people are looking for.
In groups of two or three branch tips, lift each one individually on a 45-90° angle and spread evenly, like a peacock's tail.
4 - Step back and check for gaps
Once every branch has been shaped, stand back and view your tree from different angles. Walk around it, or look at it from the doorway, just as visitors would.
If you notice any gaps:
Pull neighbouring branches slightly into the space
Separate branch tips further
Bend individual tips in different directions
Adjust nearby branches before moving elsewhere
If your tree is against a wall or tucked into a corner, we suggest paying close attention to the branch tips on the rear side. This helps to add shape and fullness to the front of your tree.
Why are there gaps in my Christmas tree?
It's perfectly normal for an artificial Christmas tree to look sparse immediately after assembly.
During manufacturing, shipping and storage, every branch is compressed to fit neatly inside the box. Until the branches have been separated and shaped, gaps will naturally appear.
Other reasons you may notice gaps include:
Branches haven't been fully spread apart
The tree hasn't been viewed from all angles
Sections haven't been aligned correctly during assembly
Decorations haven't yet been added, making open areas more noticeable
In most cases, taking a little extra time to fluff the surrounding branches and adding decorations is all that's needed.
How to fluff sparse areas
If one section still looks thinner than the rest, don't panic. Try these simple adjustments:
Bend inner branches upwards to add depth
Pull neighbouring branch tips towards the gap
Spread each tip individually instead of keeping them together
Rotate the tree to check whether the gap is visible from your main viewing angle
Save larger ornaments and ribbon for naturally fuller sections
If your tree is positioned against a wall or in a corner, concentrate your shaping on the front and visible sides for the fullest appearance, where it matters most.
Lawrence, Managing Director at Christmas Tree World, says:
"One of the biggest misconceptions is that a tree should look perfect as soon as it's assembled. In reality, the most realistic-looking trees are shaped gradually, with every branch tip positioned individually rather than pulled into place as a group.
“Spending an extra 10 minutes fluffing often makes a bigger difference to the finished look than adding more decorations, because you're creating the natural depth and variation you'd expect to see on a real tree."
Fluffing PE and PVC Christmas trees
Artificial Christmas trees are typically made using PE (polyethene) foliage, PVC (polyvinyl chloride) foliage or a combination of both.
Regardless of the foliage type, the fluffing process remains the same.
PE foliage is moulded to create highly realistic branch tips, while PVC foliage uses layered cut material to create fullness throughout the tree. Specialist artificial Christmas tree companies, such as Christmas Tree World, combine both materials to achieve a balanced, natural appearance.
Whichever style you've chosen, taking the time to shape every branch individually will help you achieve the best possible result.
How to fluff Christmas tree branches like a pro
Whether you're fluffing your tree for the first time or refreshing it after taking it out of storage, seeing the process in action can make it even easier.
In this video, our Managing Director demonstrates how to fluff an artificial Christmas tree using one of our most popular pre-lit artificial trees, the Pre-lit Ultra Devonshire Tree. The same techniques can be applied to almost any artificial Christmas tree, regardless of its size or branch style.
Common branch fluffing mistakes to avoid
Fluffing only the outer branches
Working from the top of the tree down
Leaving all branch tips pointing in the same direction
Skipping the final check for gaps
Decorating before you've finished shaping the branches
Taking a few extra minutes before hanging your decorations will give your tree a fuller, more balanced appearance.
Christmas Tree World offers high-quality artificial Christmas trees designed for realistic looks, easy assembly and years of festive enjoyment.
FAQs about Christmas tree fluffing
How do you fluff a Christmas tree?
Start at the bottom of the tree and work upwards, shaping the inner branches before spreading the outer branch tips individually. Once you've finished, step back and adjust any visible gaps for a fuller, more natural appearance.
What is the best way to fluff a Christmas tree?
The best way to fluff a Christmas tree is to shape every branch individually rather than pulling whole sections into place. Taking your time to separate each branch tip creates a much fuller and more realistic finish.
Why does my artificial Christmas tree have gaps?
Gaps are normal when you first unpack your tree because the branches have been compressed for storage and transport. Most gaps disappear once the branches have been fully fluffed and adjusted.
How long does it take to fluff an artificial Christmas tree?
A typical 6-7ft artificial Christmas tree usually takes around 20–30 minutes to shape, although larger trees or more detailed fluffing may take a little longer.
Do you fluff PE and PVC Christmas trees differently?
No. PE and PVC foliage are shaped using the same technique. The key is to separate every branch and tip individually to achieve the fullest, most natural-looking result.
Customer Examples
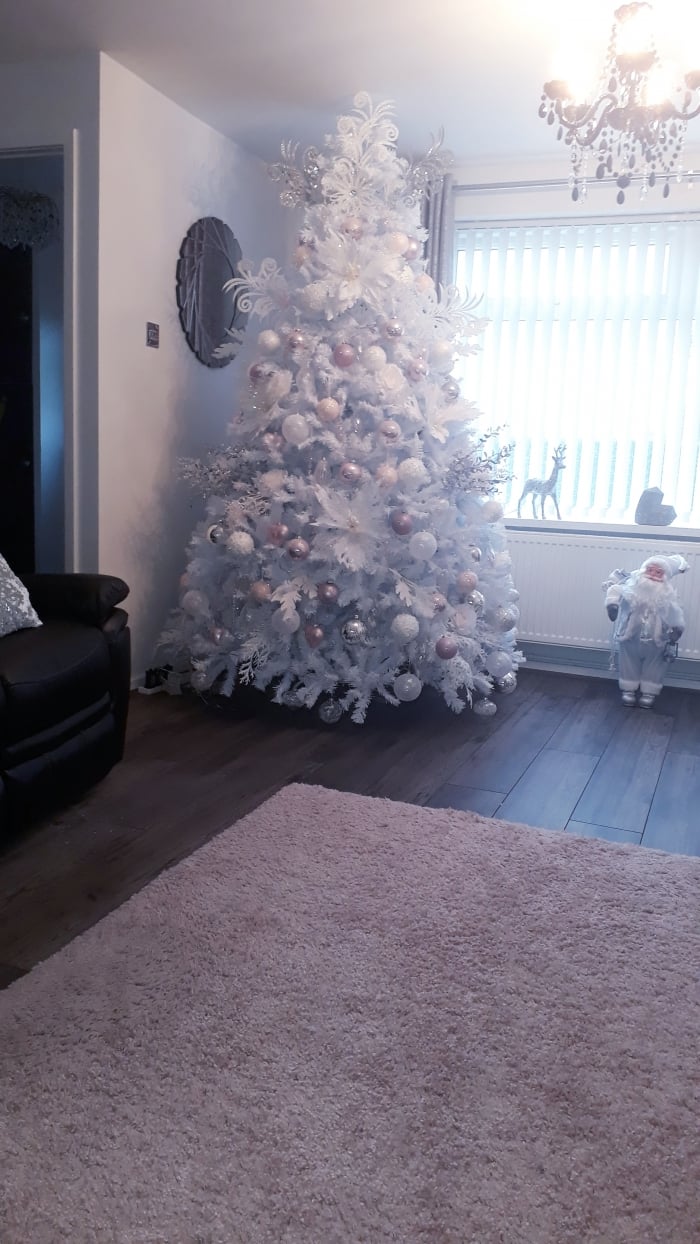
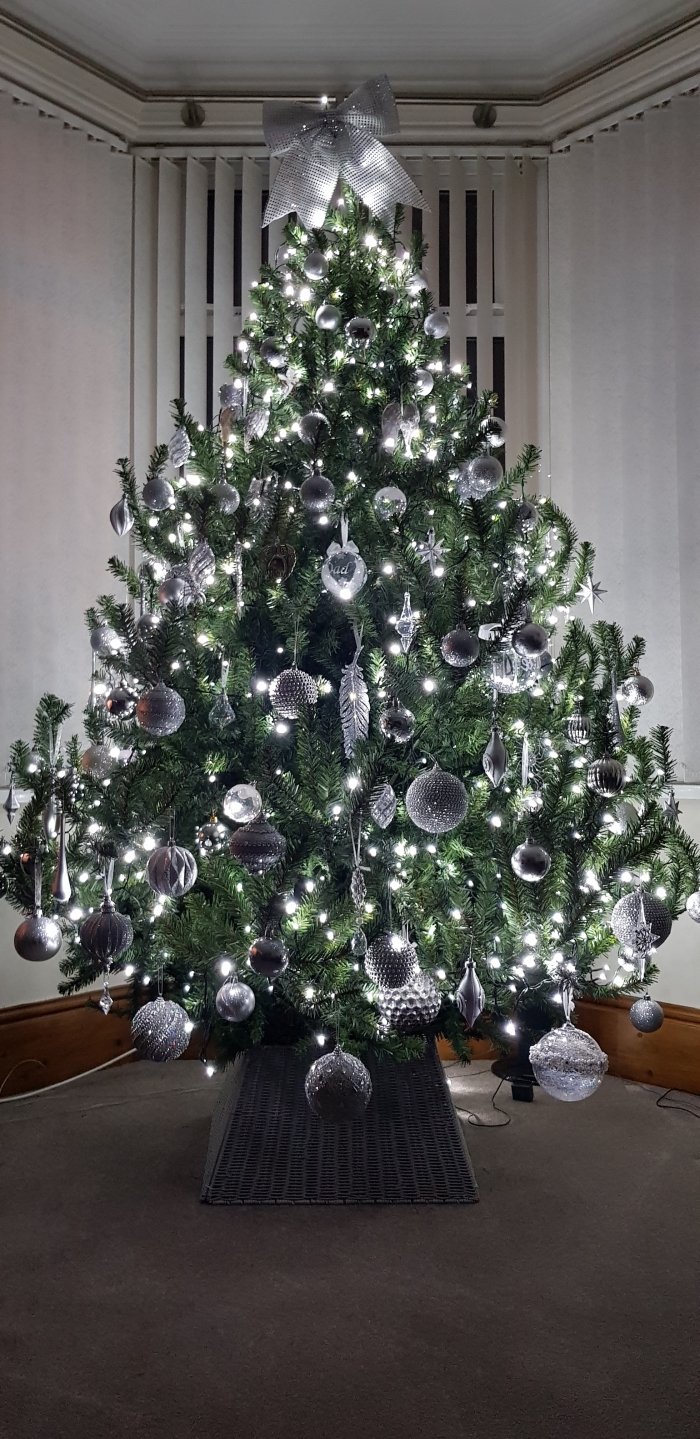
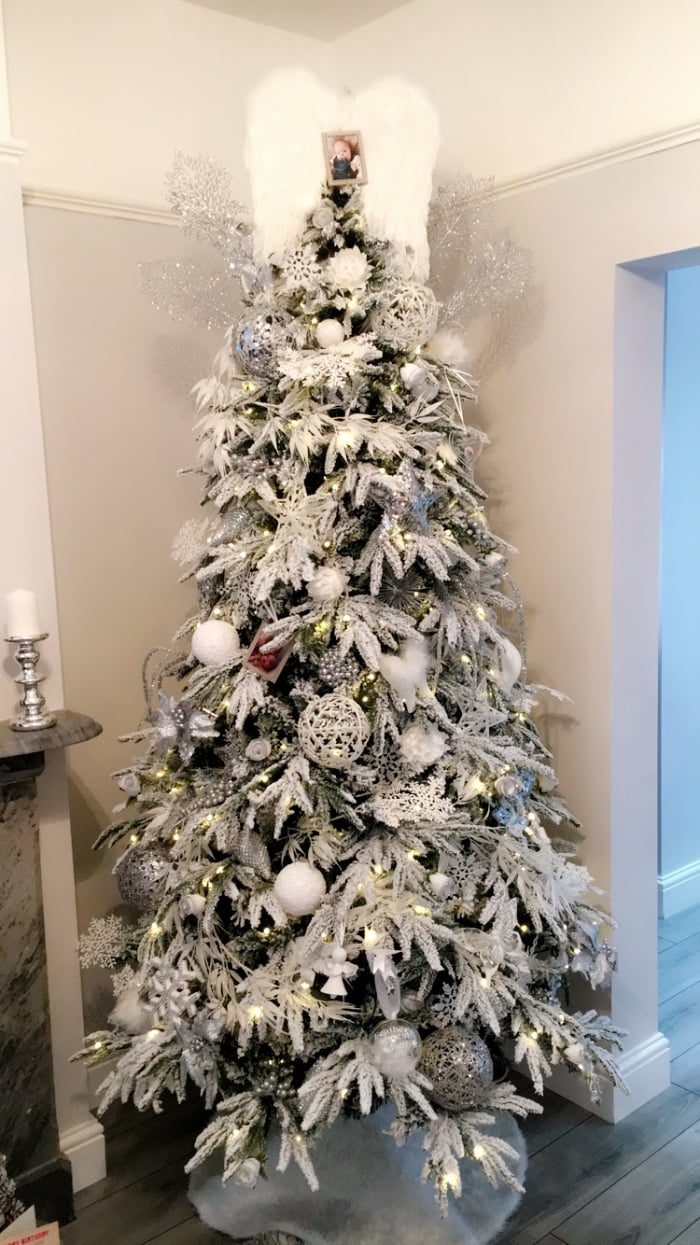
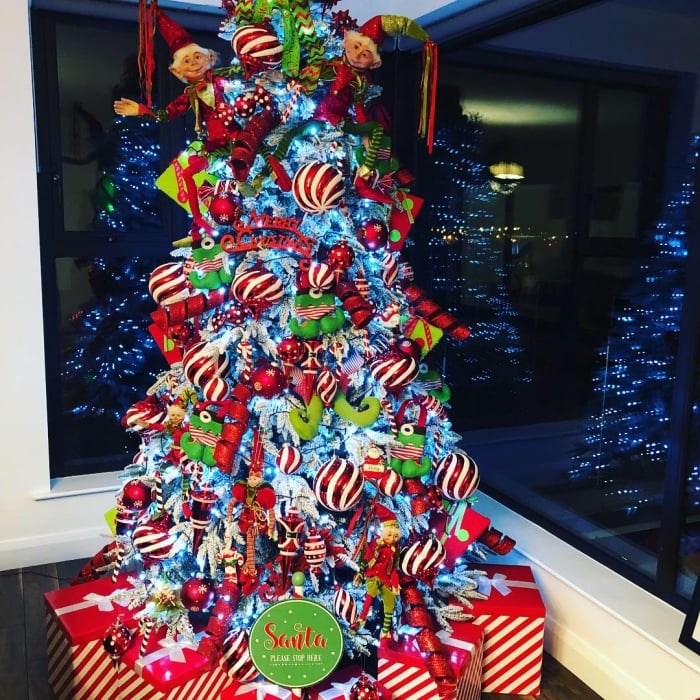
Want to try before you buy? Take a look at our customer photos or customer tutorials to see how your tree will look when it has been expertly fluffed and tweaked. What's more, these pictures are not submitted by interior designers or tree decorators by trade - they're simply Christmas lovers, just like you!
For answers to any of your tree tweaking questions, just give us a call or send an email to one of our elves for assistance. Happy Christmas!
How to Fluff a Christmas Tree
When you take your artificial Christmas tree out of the box, you'll notice the branches are folded tightly against the centre pole. Whether your tree is brand new or just pulled out of holiday storage, it definitely won’t look its best straight out of the box.
Fortunately, learning how to fluff a Christmas tree is simple and can make a dramatic difference to its appearance. Taking the time to shape each branch creates a fuller, more natural-looking tree and helps disguise the centre pole and internal frame.
Whether you've got a slim tree, a bushy tree or a pre-lit tree, this guide explains the best way to fluff your Christmas centrepiece so it's ready to become the main part of your festive display.
Why is branch fluffing important?
Fluffing is the process of separating and shaping your tree's branches after assembly. While it might seem like a small finishing touch, it's one of the most important steps in achieving a realistic-looking Christmas tree.
Proper branch shaping helps to:
Create a fuller, more natural appearance
Fill gaps between branches
Hide the centre pole and internal frame
Give decorations more support
Make the most of your tree's shape and foliage
Even premium artificial Christmas trees need fluffing after they've been packed away, so don't worry if your tree looks sparse when you first unpack it.
How long does it take to fluff an artificial Christmas tree?
The time needed depends on your tree's size, branch style and how much attention you give each section.
The first time you assemble your tree usually takes the longest. Once you've shaped the branches, you'll often find future setups are quicker, as many branches naturally return to the position you created previously.
If you're using a hinged or quick-assembly Christmas tree, setup is even faster because the main branches are already attached to the centre pole.
How to fluff Christmas tree branches in five simple steps
You don't need to be a treehugger to know how to fluff out your branches yourself. Just follow these easy steps below to give your tree a full and busy look the first time around:
If your tree has hook-on branches, attach each colour-coded section before you begin shaping. For hinged trees, simply let the branches fall naturally into place.
Although it’s easier said than done, a little patience at this stage makes the rest of the process much easier.
2 - Start with the inner branches, working from the bottom up
Begin with the lowest row of branches and work upwards, completing one layer before moving on to the next. For each layer, shape the branches closest to the centre pole first, gently lifting them upwards and outwards to add depth and help cover the trunk and framework.
Try not to position every branch in exactly the same way. Angling some slightly upwards, outwards or to the side will help create a fuller, more natural-looking shape while making it easier to spot and fill any gaps as you go.
3 - Spread each branch tip
Now move to the outer tips. Separate each tip individually or in small groups, fanning them out between roughly 45° and 90° rather than leaving them lying flat together.
Think of each branch opening like a fan or replicating a peacock's tail. This simple hack is the best way to fluff a Christmas tree and creates the realistic full foliage look that most people are looking for.
In groups of two or three branch tips, lift each one individually on a 45-90° angle and spread evenly, like a peacock's tail.
4 - Step back and check for gaps
Once every branch has been shaped, stand back and view your tree from different angles. Walk around it, or look at it from the doorway, just as visitors would.
If you notice any gaps:
Pull neighbouring branches slightly into the space
Separate branch tips further
Bend individual tips in different directions
Adjust nearby branches before moving elsewhere
If your tree is against a wall or tucked into a corner, we suggest paying close attention to the branch tips on the rear side. This helps to add shape and fullness to the front of your tree.
Why are there gaps in my Christmas tree?
It's perfectly normal for an artificial Christmas tree to look sparse immediately after assembly.
During manufacturing, shipping and storage, every branch is compressed to fit neatly inside the box. Until the branches have been separated and shaped, gaps will naturally appear.
Other reasons you may notice gaps include:
Branches haven't been fully spread apart The tree hasn't been viewed from all angles Sections haven't been aligned correctly during assembly Decorations haven't yet been added, making open areas more noticeable
In most cases, taking a little extra time to fluff the surrounding branches and adding decorations is all that's needed.
How to fluff sparse areas
If one section still looks thinner than the rest, don't panic. Try these simple adjustments:
Bend inner branches upwards to add depth Pull neighbouring branch tips towards the gap Spread each tip individually instead of keeping them together Rotate the tree to check whether the gap is visible from your main viewing angle Save larger ornaments and ribbon for naturally fuller sections
If your tree is positioned against a wall or in a corner, concentrate your shaping on the front and visible sides for the fullest appearance, where it matters most.
Lawrence, Managing Director at Christmas Tree World, says:
"One of the biggest misconceptions is that a tree should look perfect as soon as it's assembled. In reality, the most realistic-looking trees are shaped gradually, with every branch tip positioned individually rather than pulled into place as a group.
“Spending an extra 10 minutes fluffing often makes a bigger difference to the finished look than adding more decorations, because you're creating the natural depth and variation you'd expect to see on a real tree."
Fluffing PE and PVC Christmas trees
Artificial Christmas trees are typically made using PE (polyethene) foliage, PVC (polyvinyl chloride) foliage or a combination of both.
Regardless of the foliage type, the fluffing process remains the same.
PE foliage is moulded to create highly realistic branch tips, while PVC foliage uses layered cut material to create fullness throughout the tree. Specialist artificial Christmas tree companies, such as Christmas Tree World, combine both materials to achieve a balanced, natural appearance.
Whichever style you've chosen, taking the time to shape every branch individually will help you achieve the best possible result.
How to fluff Christmas tree branches like a pro
Whether you're fluffing your tree for the first time or refreshing it after taking it out of storage, seeing the process in action can make it even easier.
In this video, our Managing Director demonstrates how to fluff an artificial Christmas tree using one of our most popular pre-lit artificial trees, the Pre-lit Ultra Devonshire Tree. The same techniques can be applied to almost any artificial Christmas tree, regardless of its size or branch style.
Common branch fluffing mistakes to avoid
Fluffing only the outer branches Working from the top of the tree down Leaving all branch tips pointing in the same direction Skipping the final check for gaps Decorating before you've finished shaping the branches
Taking a few extra minutes before hanging your decorations will give your tree a fuller, more balanced appearance.
Christmas Tree World offers high-quality artificial Christmas trees designed for realistic looks, easy assembly and years of festive enjoyment.
FAQs about Christmas tree fluffing
How do you fluff a Christmas tree?
Start at the bottom of the tree and work upwards, shaping the inner branches before spreading the outer branch tips individually. Once you've finished, step back and adjust any visible gaps for a fuller, more natural appearance.
What is the best way to fluff a Christmas tree?
The best way to fluff a Christmas tree is to shape every branch individually rather than pulling whole sections into place. Taking your time to separate each branch tip creates a much fuller and more realistic finish.
Why does my artificial Christmas tree have gaps?
Gaps are normal when you first unpack your tree because the branches have been compressed for storage and transport. Most gaps disappear once the branches have been fully fluffed and adjusted.
How long does it take to fluff an artificial Christmas tree?
A typical 6-7ft artificial Christmas tree usually takes around 20–30 minutes to shape, although larger trees or more detailed fluffing may take a little longer.
Do you fluff PE and PVC Christmas trees differently?
No. PE and PVC foliage are shaped using the same technique. The key is to separate every branch and tip individually to achieve the fullest, most natural-looking result.
Customer Examples
Want to try before you buy? Take a look at our customer photos or customer tutorials to see how your tree will look when it has been expertly fluffed and tweaked. What's more, these pictures are not submitted by interior designers or tree decorators by trade - they're simply Christmas lovers, just like you!
For answers to any of your tree tweaking questions, just give us a call or send an email to one of our elves for assistance. Happy Christmas!
We use cookies to improve our services, make personal offers, and enhance your experience. If you do not accept optional cookies below, your experience may be affected. If you want to know more, please, read the Cookie Policy
Cookie Provider:
Cookie Type:
A cookie is a small file which asks permission to be placed on your computer's hard drive. Once you agree, the file is added and the cookie helps analyze web traffic or lets you know when you visit a particular site. Cookies allow web applications to respond to you as an individual.
We use traffic log cookies to identify which pages are being used. This helps us analyze data about web page traffic and improve our website in order to tailor it to customer needs. We only use this information for statistical analysis purposes and then the data is removed from the system.
Overall, cookies help us provide you with a better website, by enabling us to monitor which pages you find useful and which you do not. A cookie in no way gives us access to your computer or any information about you, other than the data you choose to share with us.






The information below is required for social login
Sign In
Create New Account